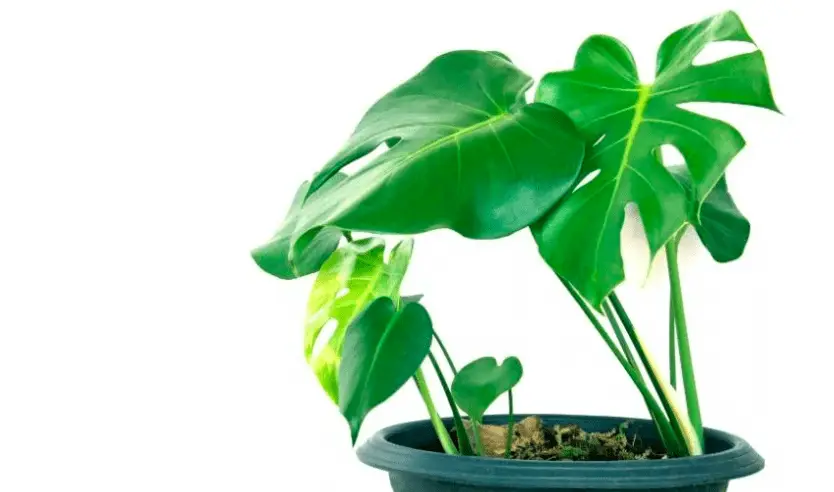
If you’re like me, you probably have a Monstera plant in your house. They’re really trendy right now and for good reason – they’re easy to care for and add a lot of character to any room.
But what about the question on everyone’s mind – are eggshells good for monsteras? In this blog post, we’ll take a look at whether or not eggshells make good fertilizer for these plants.
Are Eggshells Good for Monstera?
Yes, eggshells are good for Monstera plants! Eggshells contain calcium, which is essential for plant growth. Eggshells are 90% calcium carbonate, so they’re a great way to add this essential nutrient to your plant’s diet.
Not only that, but eggshells also help to aerate the soil and improve drainage. So if you’re looking for a way to give your Monstera plant a little boost, consider adding some eggshells to its potting mix.
Some plants are picky about the pH level of the soil they’re in. Monstera plants like slightly acidic soil, but don’t like too much acidity. Eggshells can help to regulate the pH level of the soil, making it more alkaline. This is particularly helpful if you also use coffee as monstera fertilizer.
https://www.youtube.com/watch?v=QOFAurhuXxk
How to Use Eggshells for Monstera?
There are a few different ways that you can use eggshells to fertilize your Monstera plant. Let’s start with the best and most effective method:
1. Eggshell mulch
Another way to use eggshells for Monstera is to create a mulch out of them. To do this, simply place eggshells in a food processor or blender and pulse until they’re broken up into small pieces.
Once the eggshells are broken up, spread them around the base of your Monstera plant. The eggshells will help to retain moisture in the soil and keep the roots of your plant cool.
Not only that, but the eggshells will also help to deter slugs and other pests from attacking your plant.
2. Eggshell tea
To make eggshell tea, simply place a handful of eggshells in a clean jar or container. Fill the container with water and let it sit for 24 hours. Once the eggshells have had a chance to steep, remove them from the water and use this “tea” to water your Monstera plant.
The calcium in the eggshells will help to promote healthy growth and the water will help to keep your plant hydrated.
3. Bottom of plant pot
If you don’t want to use eggshells in your plant’s potting mix, you can also add them to the bottom of the pot. This will help to improve drainage and keep the roots of your plant from getting too wet.
To do this, simply place a layer of eggshells at the bottom of your plant pot before adding the potting mix.
As you can see, there are a number of ways that you can use eggshells to fertilize your Monstera plant. So if you’re looking for an easy and effective way to give your plant a boost, consider adding some eggshells to its diet.
Why Are Eggshells Good as Monstera Fertilizers?
Plants need many things to grow, including water, sunlight, and nutrients. One of the most important nutrients for plants is calcium, which helps to promote strong growth and prevent diseases.
Eggshells are packed with calcium, making them an ideal fertilizer for Monstera plants. Your plants will be able to absorb the calcium from the eggshells and use it to promote healthy growth.
However, your monstera needs more than just calcium to grow. They also need other nutrients like nitrogen, phosphorus, and potassium.
While eggshells are a great source of calcium, they don’t contain all of the other nutrients that your Monstera needs. For this reason, it’s important to use them as part of a complete fertilizer regime.
Conclusion
In conclusion, eggshells are good for Monstera plants! They contain calcium, which is essential for plant growth, and they also help to aerate the soil and improve drainage.
If you’re looking for an easy and effective way to fertilize your Monstera plant, consider adding some eggshells to its diet. Thanks for reading!
Monstera is a tropical plant that loves humidity and high temperatures. In order to get the most out of your Monstera, you may be wondering if a self-watering pot is a good option. In this blog post, we will explore the pros and cons of using self-watering pots for your Monstera, and help you decide if it is the right choice for you!
Are Self-Watering Pots Good for Monstera?
Yes, self-watering pots are good for monstera plants as they help to regulate water and humidity levels, which is important for this tropical plant. Self-watering pots also allow you to water your monstera less often, which can be helpful if you are busy or forgetful.
Let’s jump into the main benefits of using self-watering pots for monstera:
1. Self-watering pots keep water levels consistent
Monstera plants are tropical plants that need water on a consistent basis to thrive. If the plant does not have enough water, the leaves will start to droop and the plant will become unhealthy.
Self-watering pots help to regulate water levels by slowly releasing water into the soil as needed, which means that your monstera will always have access to the moisture it needs.
2. You can water your monstera less often
Self-watering pots can help you to water your monstera less often, as they release water slowly and evenly into the soil. This is ideal if you are forgetful or have a busy schedule, as it means that your plant will still get the moisture it needs even if you forget to water it for a few days.
3. Self-watering pots reduce the chance of root rot
One of the main problems with watering plants manually is that it is easy to overwater them, which can lead to root rot. Root rot is a serious problem that can kill your plant, so it is important to avoid it if possible.
Self-watering pots help to reduce the chance of root rot by slowly releasing water into the soil, which means that the roots will not be sitting in water for long periods of time. This will help to keep your plant healthy and reduce the risk of root rot.
What Self-Watering Pot for Monstera?
Now that we’ve looked at the benefits of using self-watering pots for monstera, you may be wondering what type of pot is best. There are a few things to consider when choosing a self-watering pot for your plant:
1. The size of the pot
The first thing to consider is the size of the pot. Monstera plants can grow to be quite large, so you will need a pot that is big enough to accommodate the plant as it grows. A good rule of thumb is to choose a pot that is twice the size of the current pot your plant is in.
2. The material of the pot
The next thing to consider is the material of the pot. Monstera plants like to be in humid environments, so a pot made from a material that retains moisture is ideal. Clay or ceramic pots are good options, as they will help to keep the soil moist and reduce the need for watering.
3. The type of self-watering system
There are two main types of self-watering systems: wicking and reservoir. Wicking systems work by drawing water up from a reservoir into the soil as needed, while reservoir systems have a built-in reservoir that slowly releases water into the soil.
Both types of self-watering systems will work well for monstera plants, so it is up to you to decide which one you prefer.
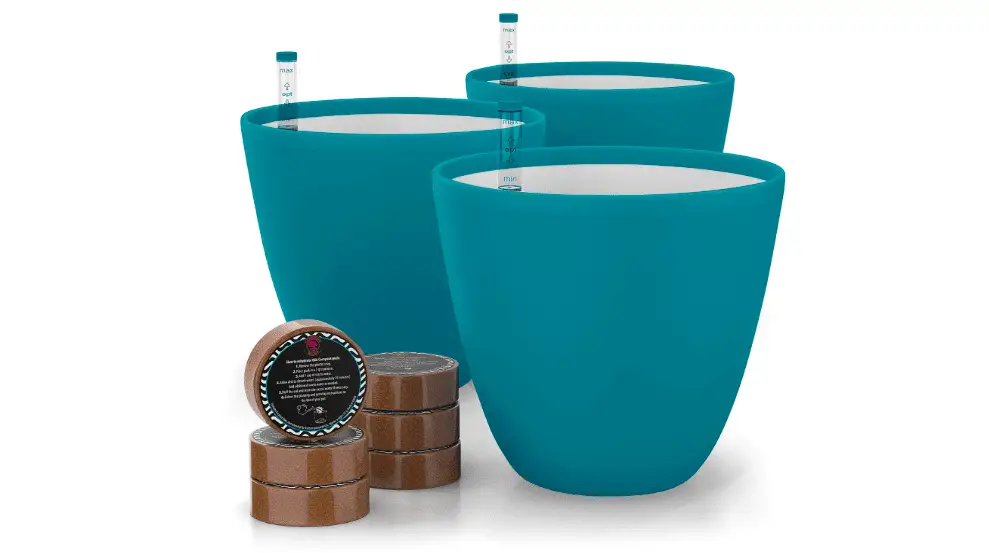
Now that you know the benefits of using self-watering pots for monstera and what to look for when choosing a pot, it’s time to make a decision! I like using the Gardenix Decor for my houseplants.
These are high-quality pots that never leak and come with a self-watering reservoir built into the bottom. They are built from polypropylene so they are lightweight and durable, and they come in a variety of sizes and colors.
Will Self-Watering Pots Cause Monstera Root Rot?
One of the main concerns when using self-watering pots is that they might cause monstera root rot. Root rot is a serious problem that can kill your plant, so it is important to avoid it if possible.
Self-watering pots help to reduce the chance of root rot by slowly releasing water into the soil, which means that the roots will not be sitting in water for long periods of time. This will help to keep your plant healthy and reduce the risk of root rot.
However, it’s important to use the pot correctly! This means following the above advice and using the correct size and type of pot for your monstera. Using a huge pot may mean that the monstera doesn’t have a chance to drink all of the water inside, which can lead to root rot.
Conclusion
In conclusion, self-watering pots are a great option for monstera plants. They help to reduce the chance of root rot and make it easier to care for your plant. Just be sure to choose the right size and type of pot for your plant, and follow the above advice on how to use them correctly.
Do you have any experience with self-watering pots? Let me know in the comments below! Thanks for reading.
Monstera is a tropical plant that loves humidity and indirect light. It can be grown indoors or outdoors, but make sure to place it in an area where it will get plenty of sunlight.
Terracotta pots are a popular choice for growing monstera, but is this the best option? In this blog post, we will discuss the pros and cons of using terracotta pots for monstera plants.
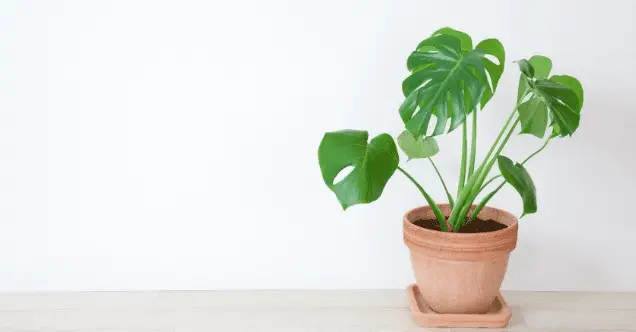
Are Terracotta Pots Good for Monstera?
Yes, terracotta pots are good for monstera plants. Terracotta is a porous material, so it allows the plant to breathe and keeps the roots cooler. However, using terracotta pots means the soil will dry out quicker, so you will need to water your monstera slightly more often.
No matter what type of pot you choose, make sure it has drainage holes to prevent the plant from becoming waterlogged. It’s also important to follow the typical watering and fertilizing schedule for monstera plants. With proper care, your monstera can thrive in any type of pot!
What are the Benefits of Terracotta Pots for Monstera Plants?
Terracotta pots are a great choice for monstera plants because they offer many benefits:
1. Terracotta is a porous material
Terracotta pots will suck in water, so it’s harder to give your monstera too much water. Terracotta also helps to keep the roots cooler, which is important for monstera plants.
This is good news as it stops the soil from sitting in water and keeps the roots airy, helping to prevent problems such as root rot and mold. Using plastic pots is the quickest way to have issues with overwatering.
2. Terracotta pots are durable and can last for many years
If you take care of your terracotta pot, it will last for years. Terracotta is a very sturdy material, so it can withstand the elements without breaking (just don’t drop it). This means you won’t have to replace your pot as often as with other materials, which can save you money in the long run.
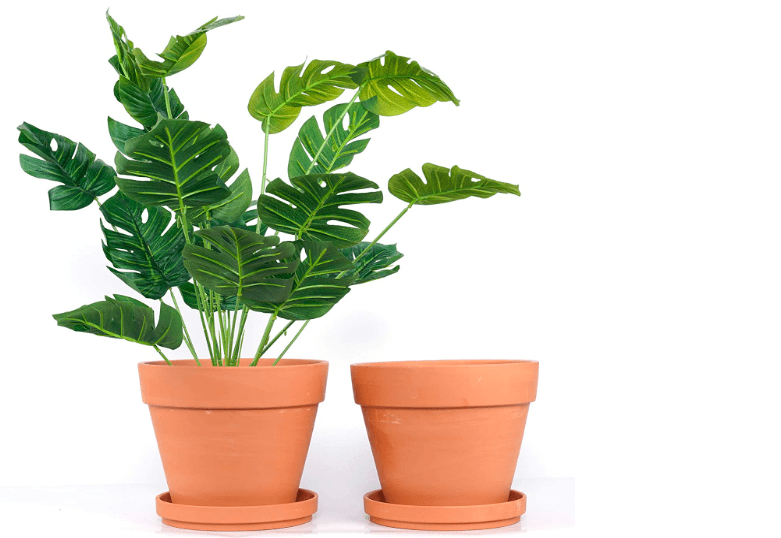
3. Terracotta pots are affordable and easy to find
Terracotta pots are one of the most affordable pot options. In fact, you can pick one up for just a few dollars. You can find them at most home improvement stores or online. They are also easy to find in different sizes, so you can choose the perfect pot for your monstera plant. These large terracotta pots from Amazon are great!
What are the Disadvantages of Terracotta Pots for Monstera Plants?
While terracotta pots offer many benefits, there are also some disadvantages to using them:
1. Terracotta pots can dry out quickly
This means will need to water your monstera slightly more often. This isn’t good news for people who often forget to water their plants. Make sure to check the soil regularly and water your monstera when the top layer of soil is dry.
You will also need to monitor the humidity more closely if you’re using a terracotta pot. Use a humidity gauge to make sure the air around your plant is not too dry. If it is, you can use a humidifier or mist your plant with water to raise the humidity levels.
2. Terracotta pots can become heavywhen wet
Terracotta pots can become very heavy when they are full of water. This can make it difficult to move them around, so keep this in mind if you plan on moving your plant often.
3. Terracotta pots can stain the surface
As a porous material, terracotta can absorb water and dirt. This can lead to staining on surfaces such as tables or floors. Be sure to use a coaster or place your pot on a surface that won’t be affected by staining.
What Size Terracotta Pot for Monstera?
The size of the terracotta pot you choose will depend on the size of your monstera plant. If you have a small plant, you can use a small pot. If you have a large plant, you will need to use a larger pot.
I recommend leaving a 1-inch gap between the root ball and the wall of the pot. will give enough room for the roots to grow and prevents them from becoming pot-bound.
It’s important to choose the right size pot because it will affect how often you need to water your plant. A pot that is too small will dry out quickly, while a pot that is too large will hold too much water and can lead to root rot.
When choosing a terracotta pot for monstera, make sure to also consider the drainage holes. The pot should have at least one hole so that excess water can drain out. If the pot doesn’t have any holes, you can drill some yourself.
When Should You Repot a Monstera in a Terracotta Pot?
You should repot a monstera when it starts to outgrow its pot, which usually happens every one to two years. Repotting too often will only stress the plant and can damage the roots.
It’s best to repot in the spring or summer when the plant is actively growing. This will give it time to adjust to its new pot and environment before the winter months.
To repot a monstera in a terracotta pot, choose a pot that is one size larger than the current pot. Carefully remove the plant from its current pot and place it in the new pot. Fill in any empty space with fresh potting mix. Water the plant well and place it in a bright spot.
Conclusion
In conclusion, terracotta pots are a great option for monstera plants. They are durable, affordable, and easy to find. However, they can dry out quickly and become heavy when wet. Choose the right size pot for your plant and repot it every one to two years.
Do you have any tips for using terracotta pots for monsters? Share them in the comments below!
If you’re like me, you probably can’t get enough of Monsteras. They’re one of the most popular houseplants around because they’re so easy to care for and they add a touch of greenery to any room. But did you know that you should rotate your Monstera plant regularly?
It’s true! In this blog post, we’ll discuss why it’s important to rotate your Monstera and how often you should do it. We’ll also provide some tips on how to rotate your plant correctly. So read on and learn more about this fascinating houseplant!
How Often Should I Rotate My Monstera?
It’s important to rotate your Monstera plant regularly because it helps the plant grow evenly. If you don’t rotate it, the plant will start to lean towards the light source and its leaves will become misshapen.
The exact frequency of rotation will depend on your plant, but a good rule of thumb is to rotate it every 2-3 days. Some people prefer to rotate their monstera plant every time they water it, while others do it when the monstera starts leaning to one side.
If you have a smaller Monstera, you may be able to get away with rotating it less often. But if you have a large plant, it’s important to rotate it more frequently so that all of the leaves get an equal amount of light.
When rotating your Monstera, be sure to handle it carefully. The leaves are delicate and can easily be damaged. Gently turn the plant so that the other side is facing the light source. You may need to adjust the distance of the plant from the light source to prevent it from getting too much or too little light.
How Far To Rotate My Monstera?
Turn your monstera 1/4 turn each time you rotate it. This will ensure that all sides of the plant get an equal amount of light. This is an industry-standard for how much to rotate a plant.
What If I Don’t Rotate My Monstera?
If you don’t rotate your Monstera, it’s not the end of the world. The plant will still be able to grow and thrive. However, it’s important to keep an eye on it and make sure that it’s not getting too much light on one side or too little light on the other side.
Left unchecked, imbalanced light exposure can lead to the leaves of your Monstera becoming discolored or burnt. The goal is to give all sides of the plant an equal amount of light, so be sure to rotate it regularly!
The plant is also likely to start leaning to one side if you don’t rotate it. This can cause the plant to become top-heavy and fall over. To prevent this from happening, rotate your Monstera every few days or whenever you notice it starting to lean to one side.
Signs that Your Monstera Needs to Be Rotated
Let’s look at some of the signs that your Monstera needs to be rotated:
The plant is starting to lean to one side
Some leaves are becoming burnt
Some leaves are wilting due to a lack of light
The plant is becoming top-heavy and falling over
If you notice any of these signs, it’s time to give your Monstera a rotation before it’s too late!
Conclusion
In conclusion, it’s important to rotate your Monstera plant regularly. This will help the plant grow evenly and prevent it from becoming top-heavy and falling over. Be sure to handle the plant carefully when rotating it, and adjust the distance from the light source as needed. Thanks for reading!
Do you have any questions or tips about how to care for Monsteras? Share them with us in the comments below.
Do you have a pothos plant at home? If so, you may have noticed small bumps on the stem. Don’t worry, you’re not alone! This is a common problem with pothos plants and there is no need to panic.
In this blog post, we will discuss what causes these bumps and how to treat them. We will also provide some tips for preventing them from occurring in the first place.
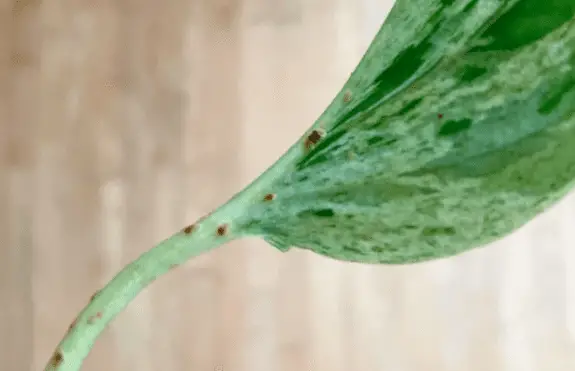
What Are the Bumps on Pothos Stem?
The bumps you are seeing on your pothos stem are most likely aerial roots or scale. While aerial roots are not harmful to your plant, the scale can be. Scale is a type of insect that feeds on plant sap. They are usually found in clusters and can range in color from brown to black.
As you may know, pothos is often grown in hanging baskets or on trellises. This is because they are natural climbers and their aerial roots help them cling to surfaces.
In time, your pothos plant will produce more aerial roots and the bumps may become more noticeable. In fact, they will likely grow into full-fledged roots that hang down from the plant.
Another possible reason for bumps is that your pothos has scale. This is a pest that can infest many types of plants, including pothos. Scale looks like small bumps on the stem or leaves and it can be difficult to get rid of.
What are Aerial Roots?
Aerial roots are a type of root that grows above ground. They work slightly differently than regular roots, in that they help the plant climb or attach to surfaces, as well as absorb water and nutrients.
Aerial roots are common in many types of plants, including pothos. They typically grow from the stem or leaves, and they can be either thin and hair-like, or thick and fleshy.
Aerial roots are common in many types of plants, including pothos, philodendrons, and monstera. They are common and nothing to worry about.
How to Treat the Bumps on Pothos Stem?
If the bumps on your pothos stem are aerial roots, there is no need to do anything. These roots are common and perfectly normal. However, if you want to keep them from becoming too visible, you can trim them back with a sharp pair of scissors.
Make sure the scissors are clean and sterilized before trimming the roots. This will help prevent the spread of disease.
What Is Scale?
Scale is a type of pest that can infest many types of plants, including pothos. Scale looks like small bumps on the stem or leaves and it can be difficult to get rid of.
The bumps themselves are actually the outside casings of the scale insect. Underneath this casing, the scale insect feeds on the sap of the plant. This feeding can weaken the plant and cause yellowing or stunted growth.
How To Get Rid of Scale on Pothos?
If your pothos has scale, you’ll need to take action to get rid of it. The first step is to isolate the plant from any other plants in your home. This will help prevent the spread of scale.
Next, you’ll need to treat the plant with an insecticide. There are many different products on the market, so be sure to read the labels carefully and choose one that is specifically designed to kill scale.
A good idea is to dip a Q-tip in rubbing alcohol and carefully scrape away the scale. Next, you need to remove any remaining larvae with neem oil (Amazon link to my favorite), which is a natural insecticide made from the neem tree.
You should also consider repotting your pothos in a fresh, sterile potting mix. This will help to prevent any remaining pests from infesting the plant.
Once you’ve treated the plant, you’ll need to monitor it closely for signs of scale. If you see any bumps, be sure to treat them immediately. With proper treatment, your pothos should soon be free of scale!
Conclusion
In conclusion, the bumps on your pothos stem are most likely aerial roots or scale. If the bumps are aerial roots, there is no need to do anything. However, if they are scale, you’ll need to take action to get rid of them. With proper treatment, your pothos should soon be free of scale!
We hope this blog post was helpful. If you have any further questions, please don’t hesitate to reach out to us! We’re always happy to help.